How to use the Pay Later Feature in Invent ERP?
How to use the Pay Later Feature in Invent ERP?
Step-by-Step Process
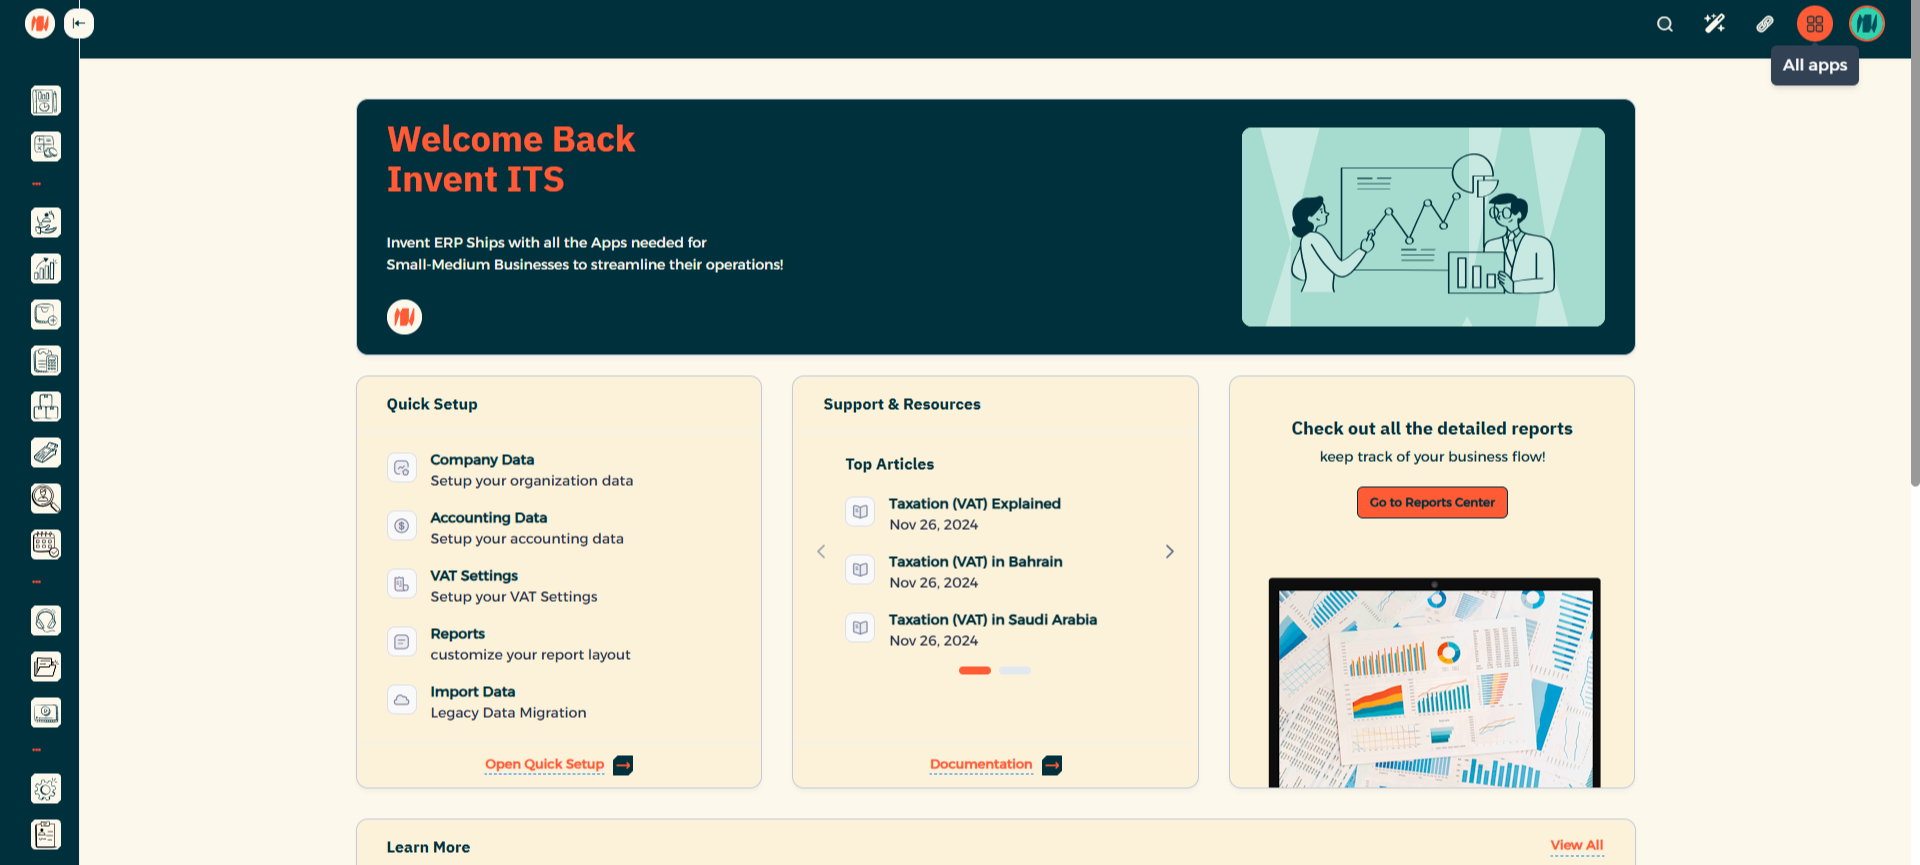
Step 1: Navigate to All Apps
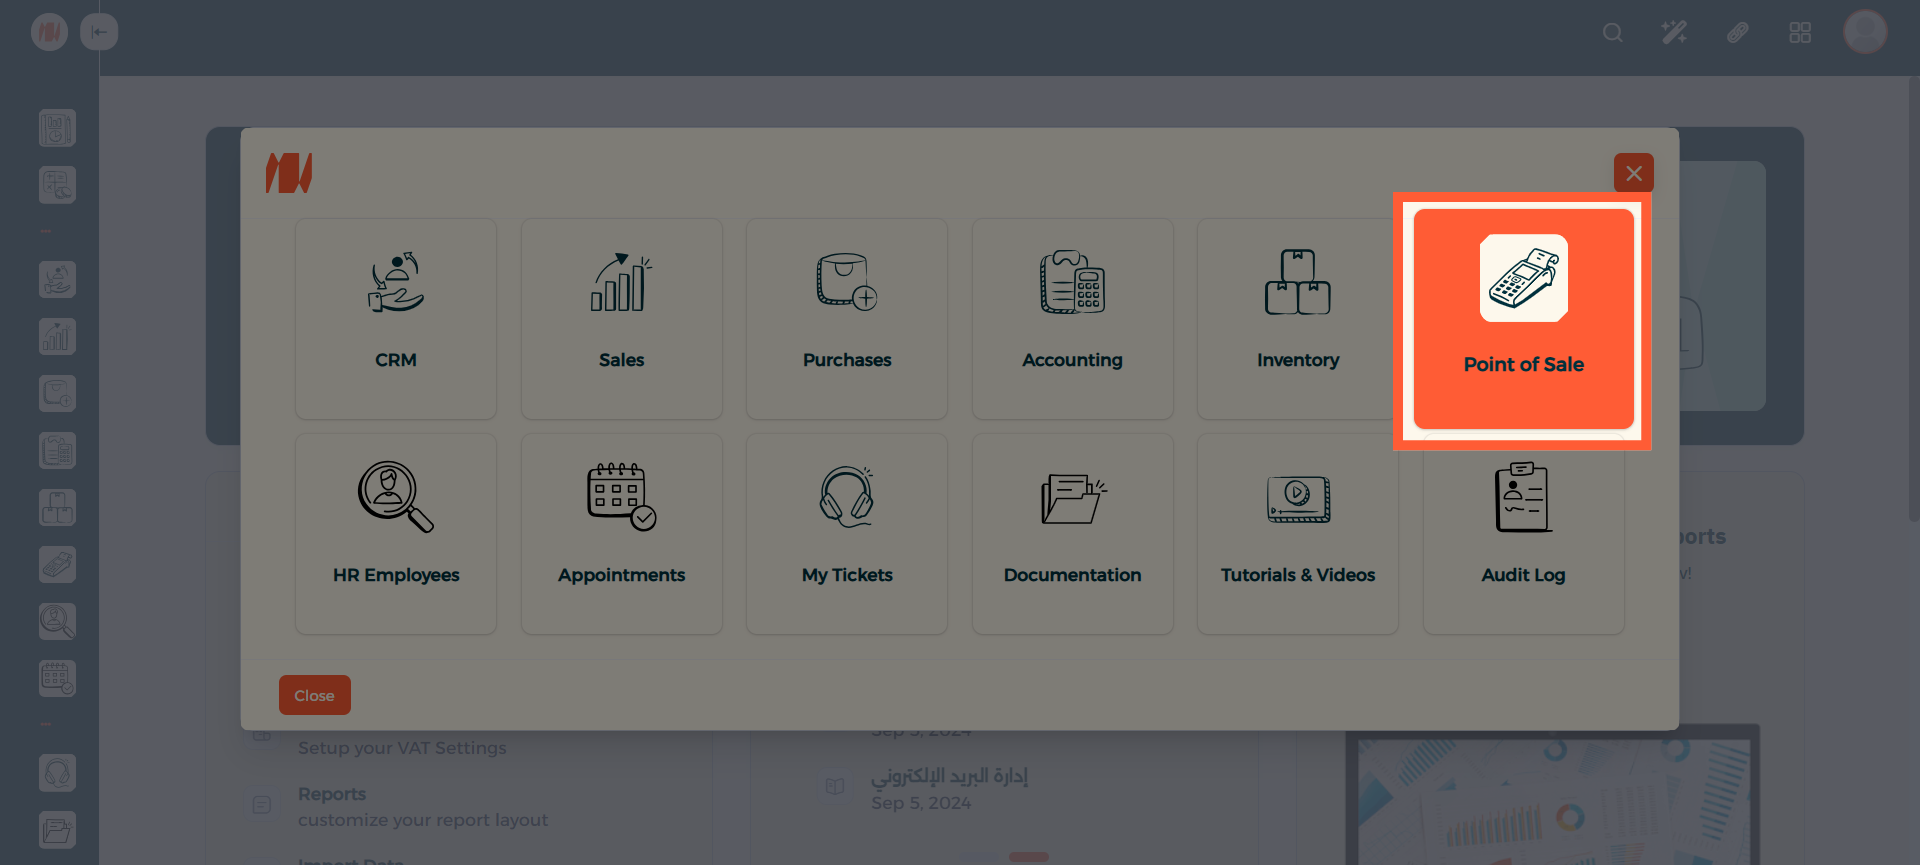
Step 2: Select Point of Sale
Choose Point of Sale.
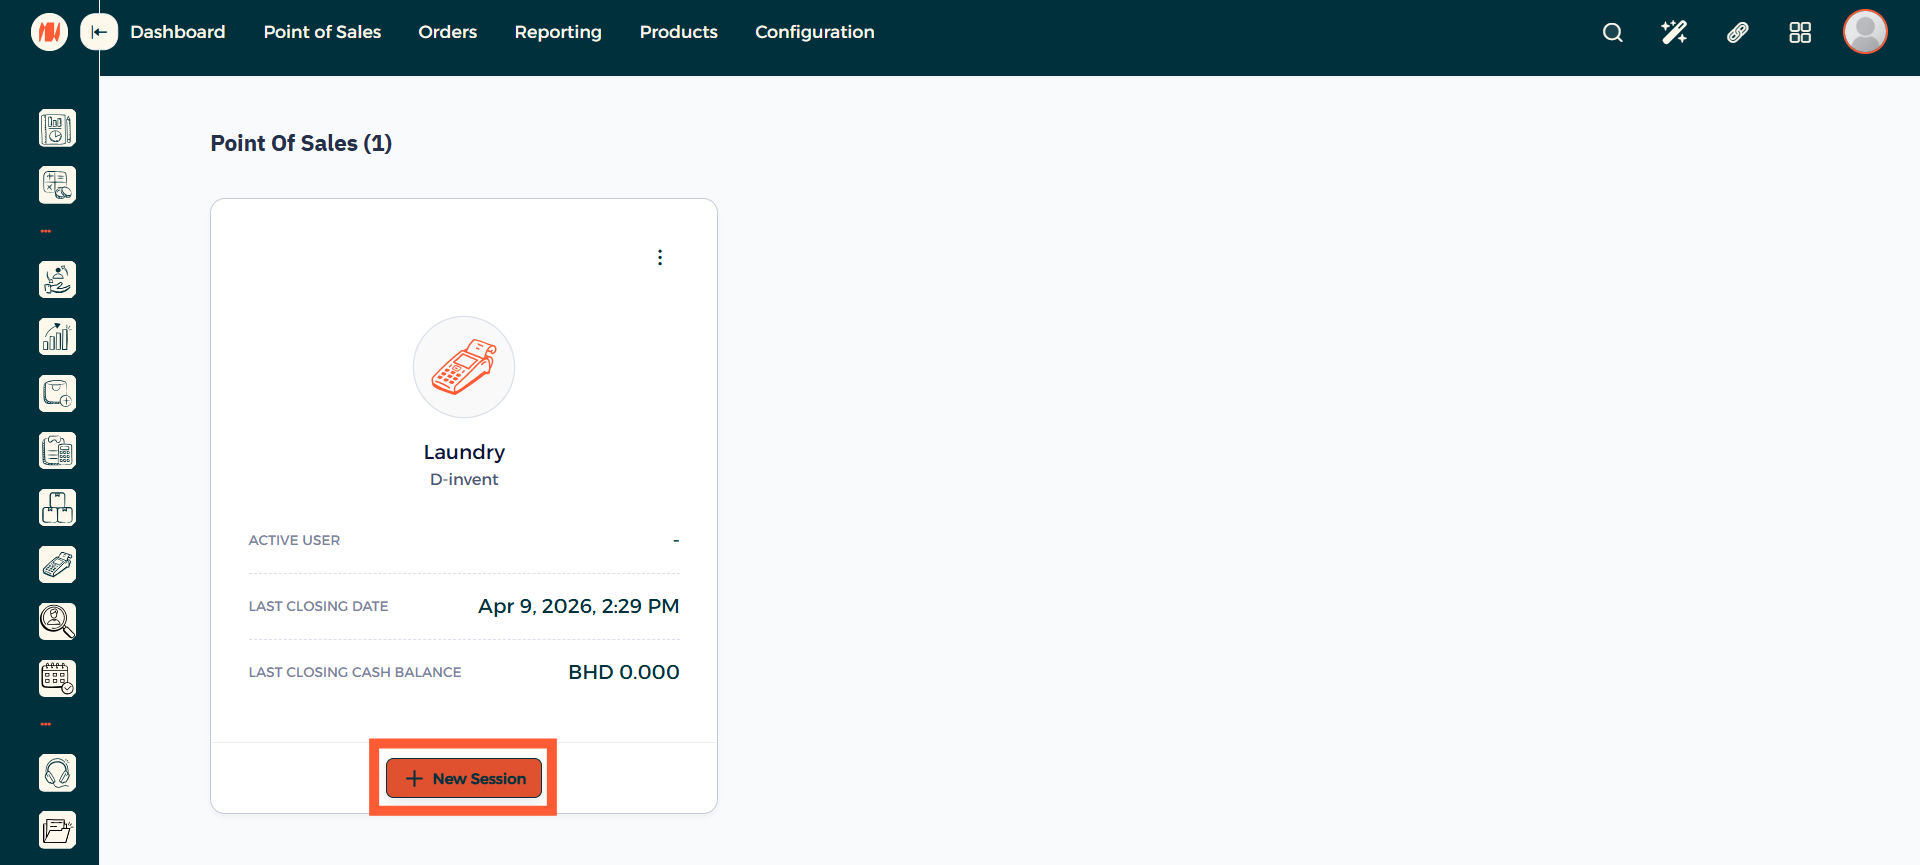
Step 3: Start New POS Session
Select the New Session button.
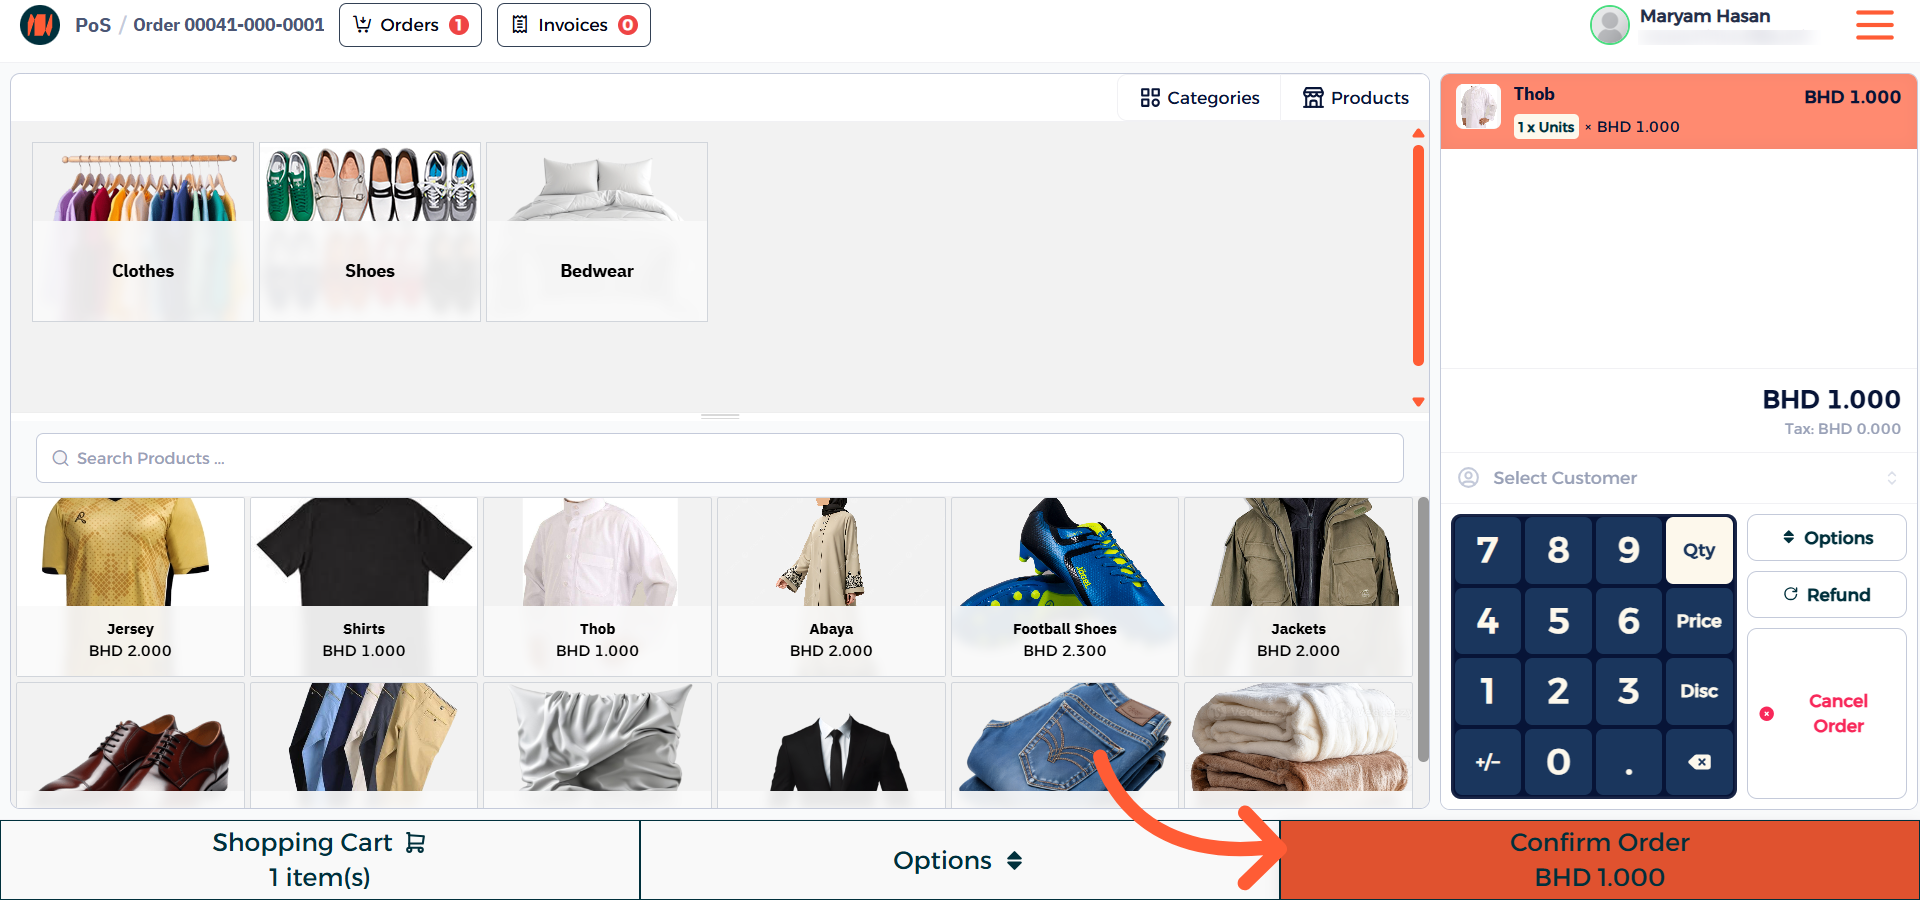
Step 4: Select Product and Confirm
Select the product and confirm your order.
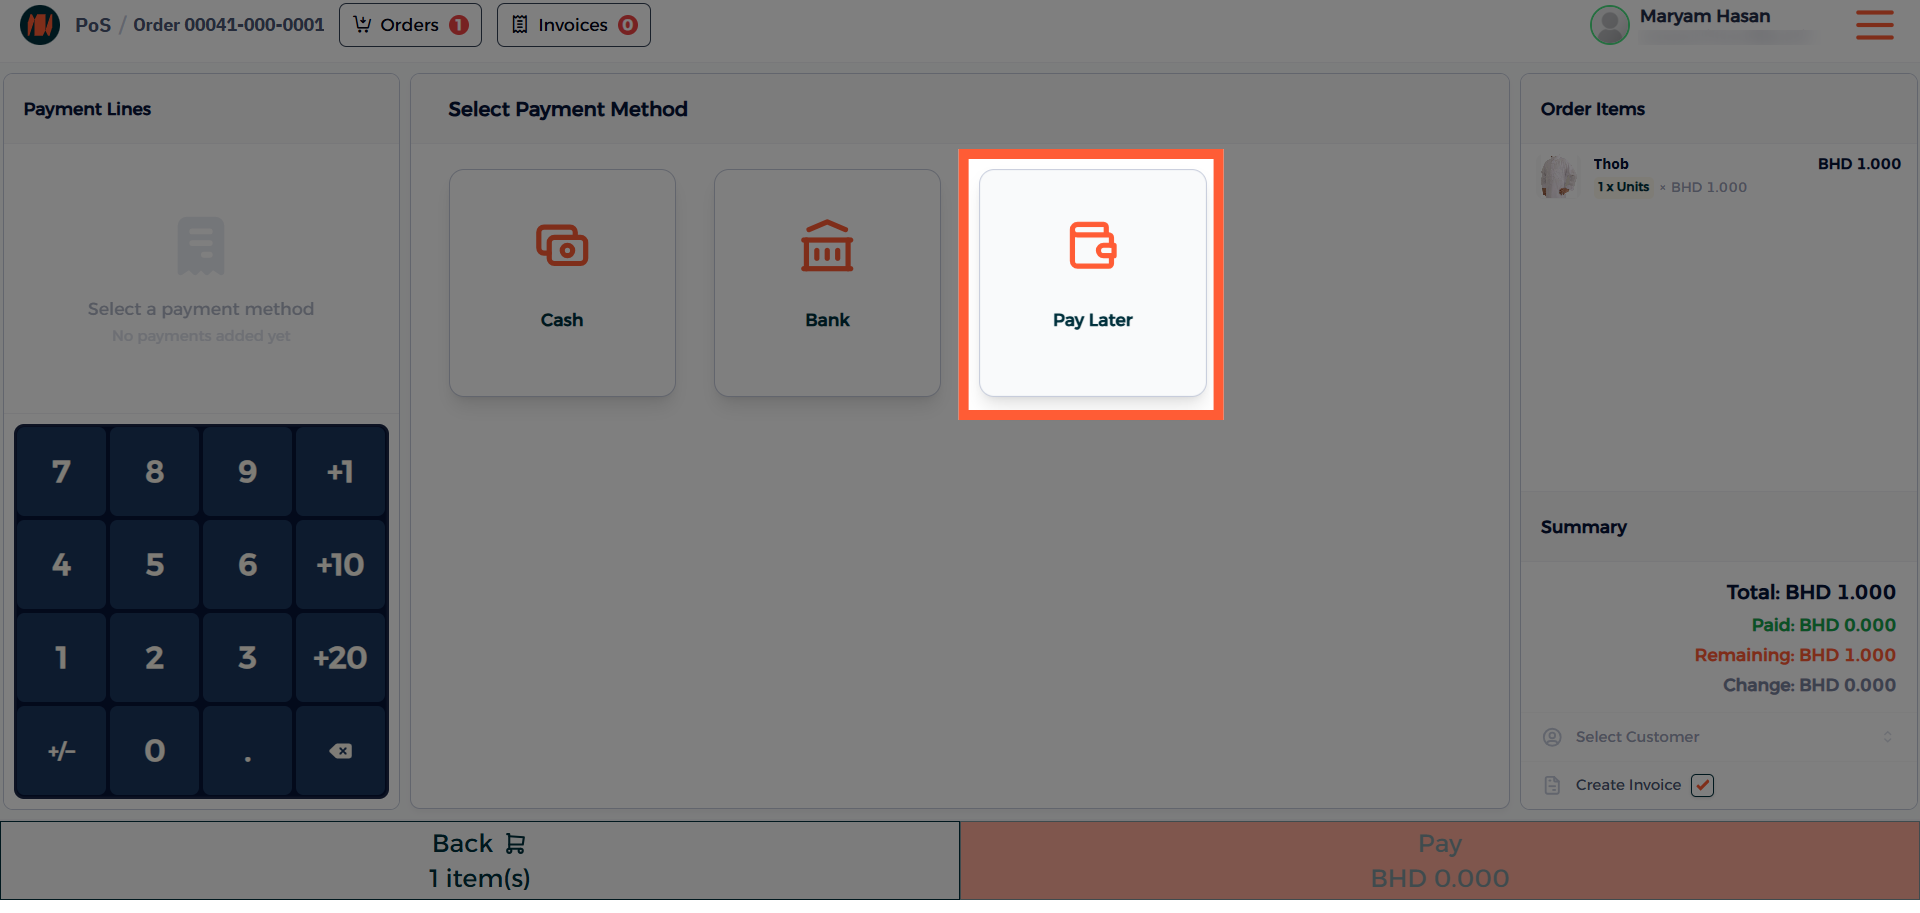
Step 5: Select Payment Method
From your payment methods, select the Pay Later option.
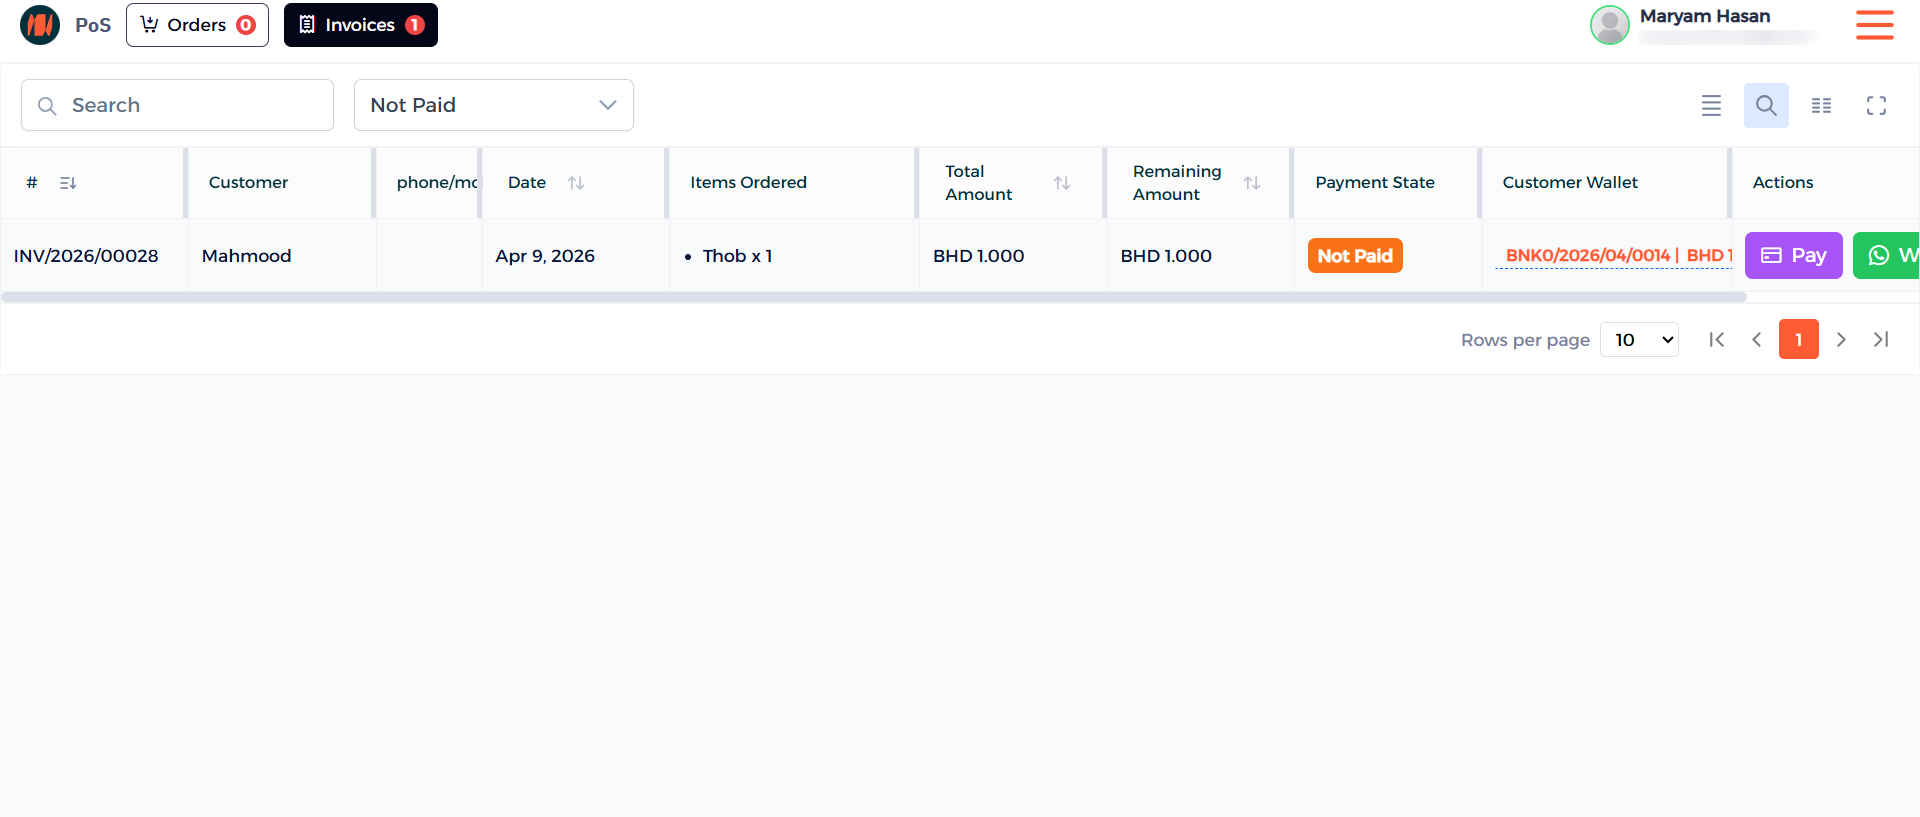
Step 6: Access Invoices

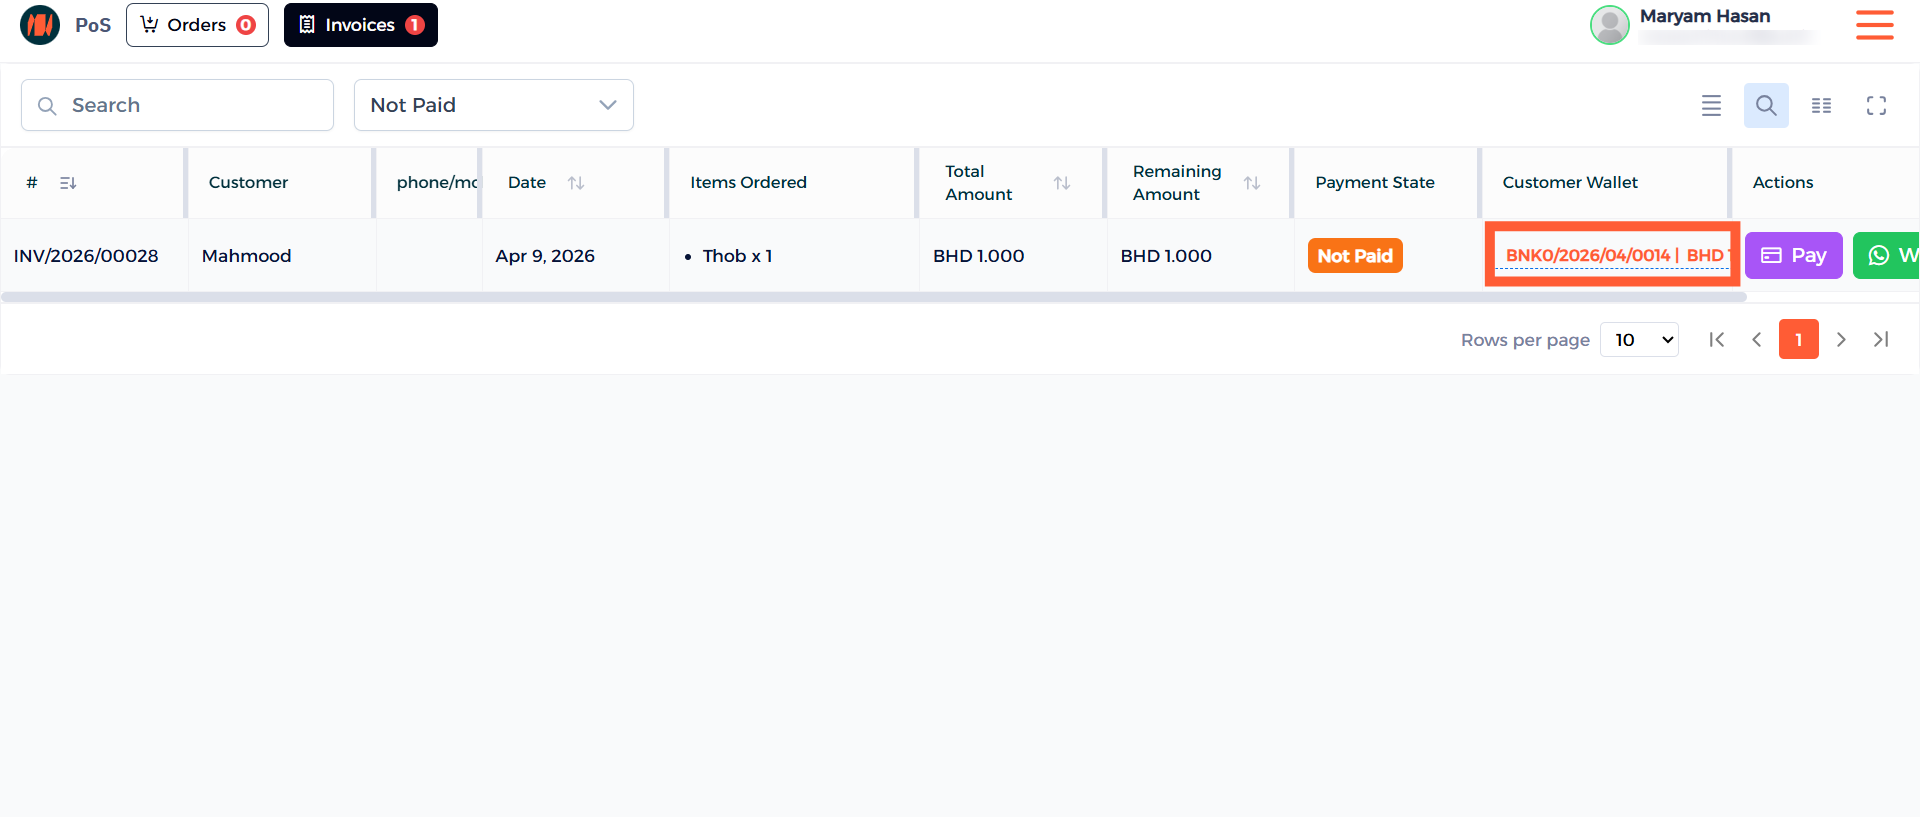
Step 7: View Invoices
Here you can see the unpaid invoices.
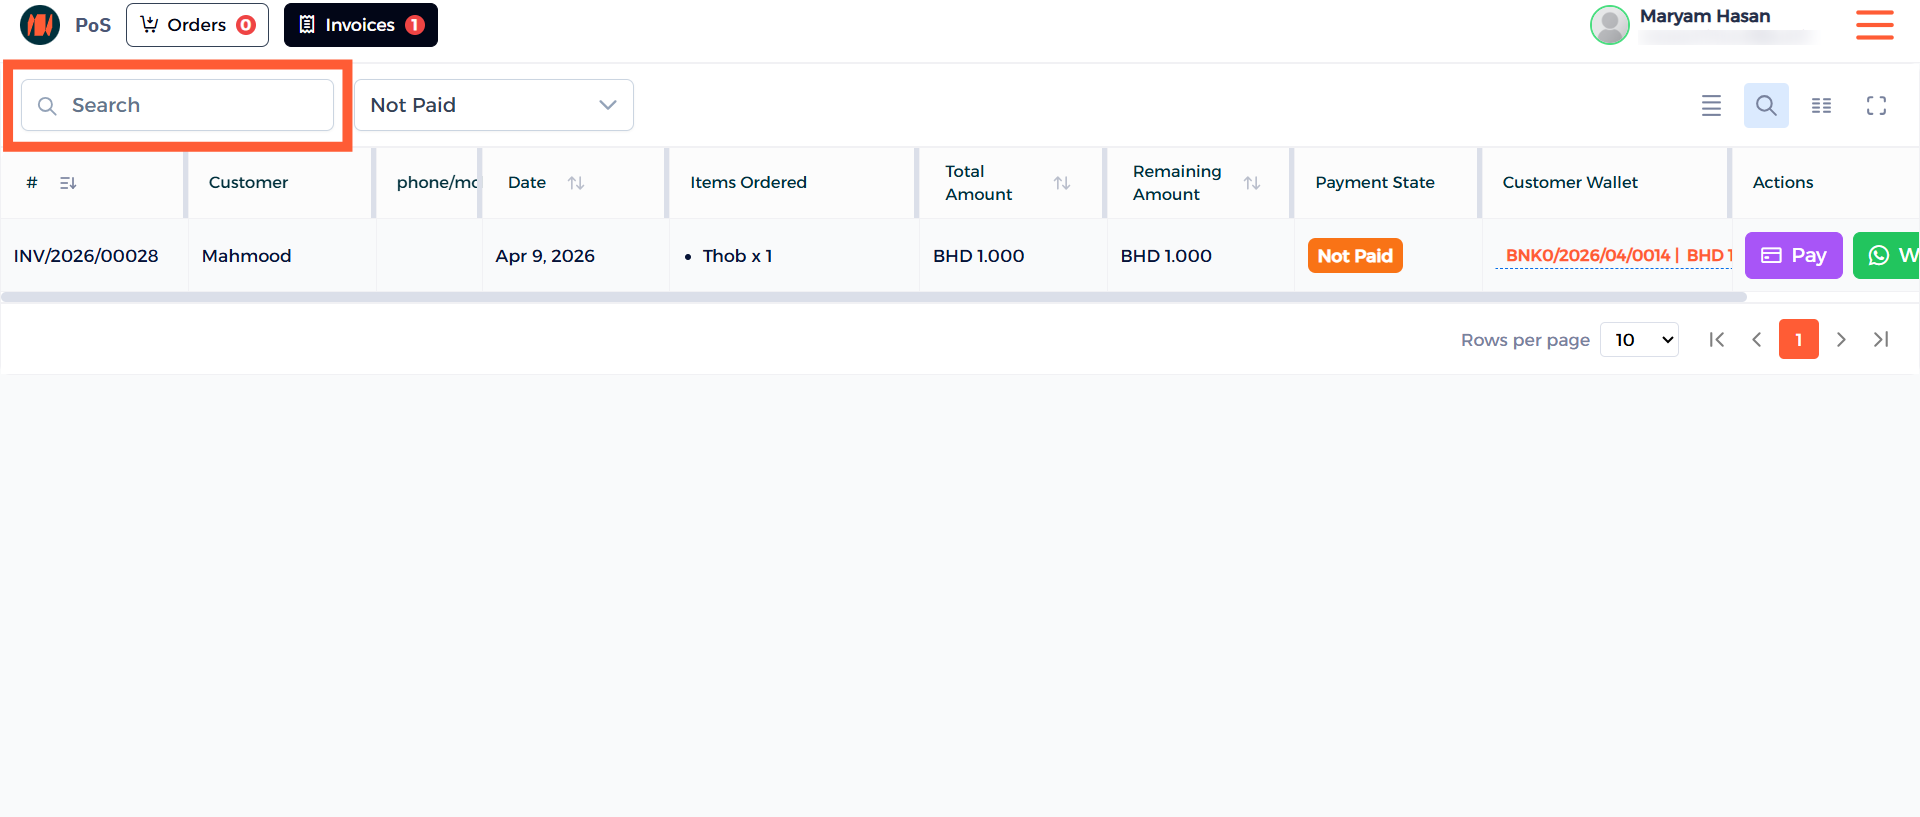
Step 8: Search for an Invoice
You can easily search by invoice number, customer's name or mobile number.
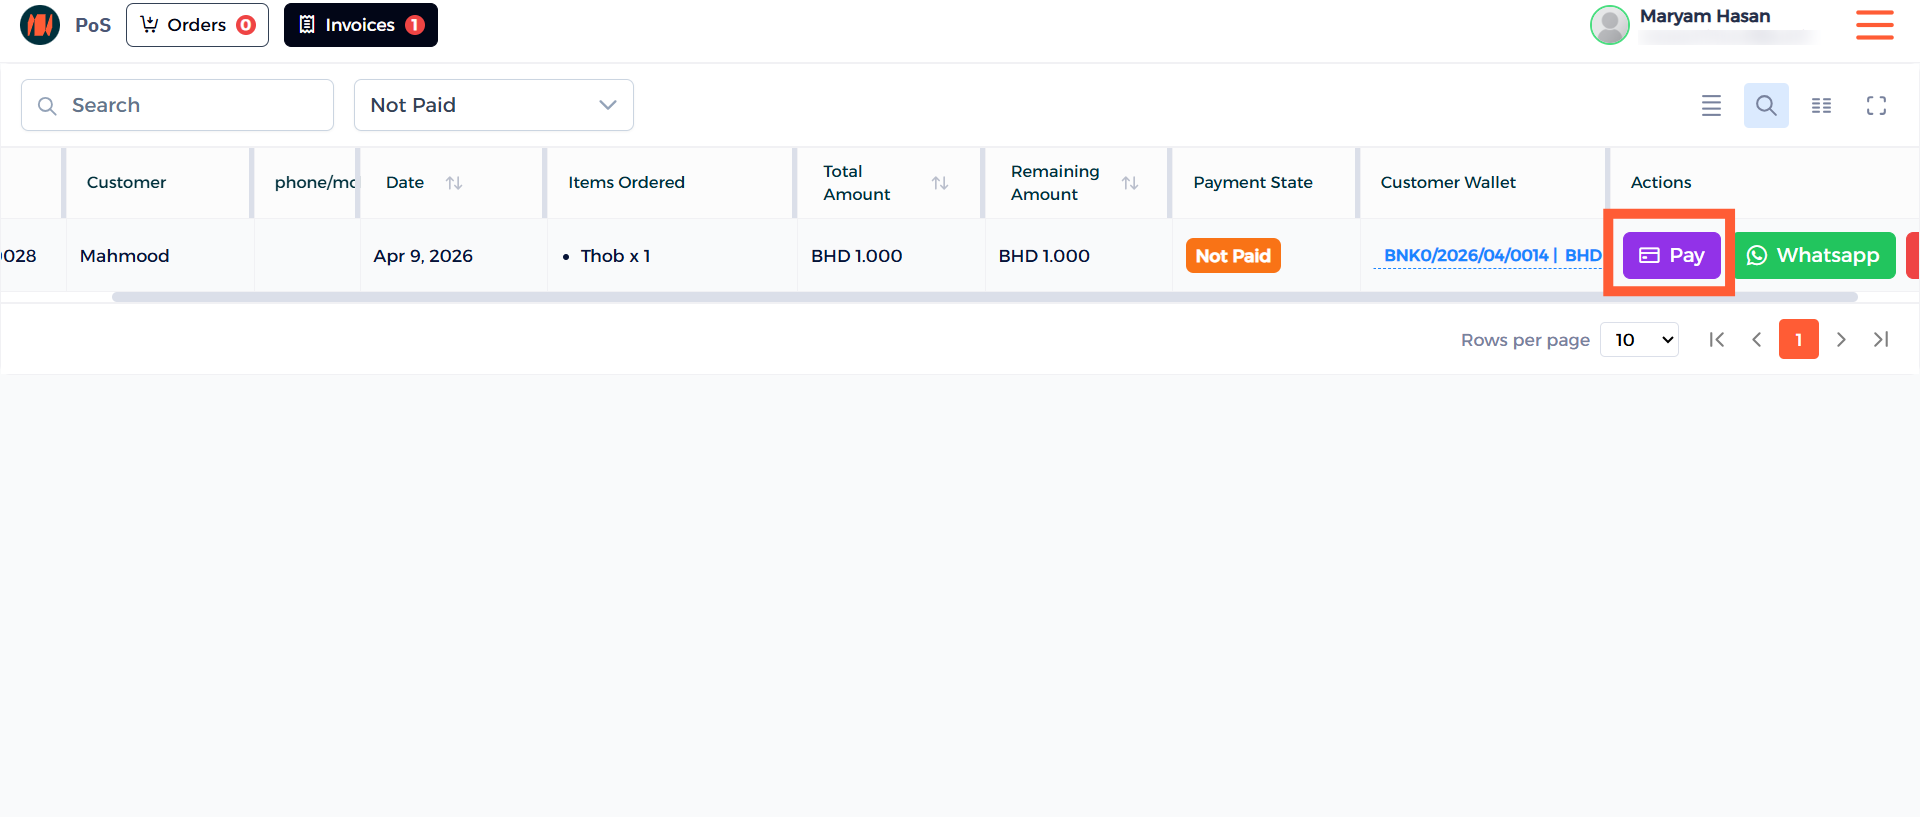
Step 9: Payment Actions
After you found your customer select the Pay button.
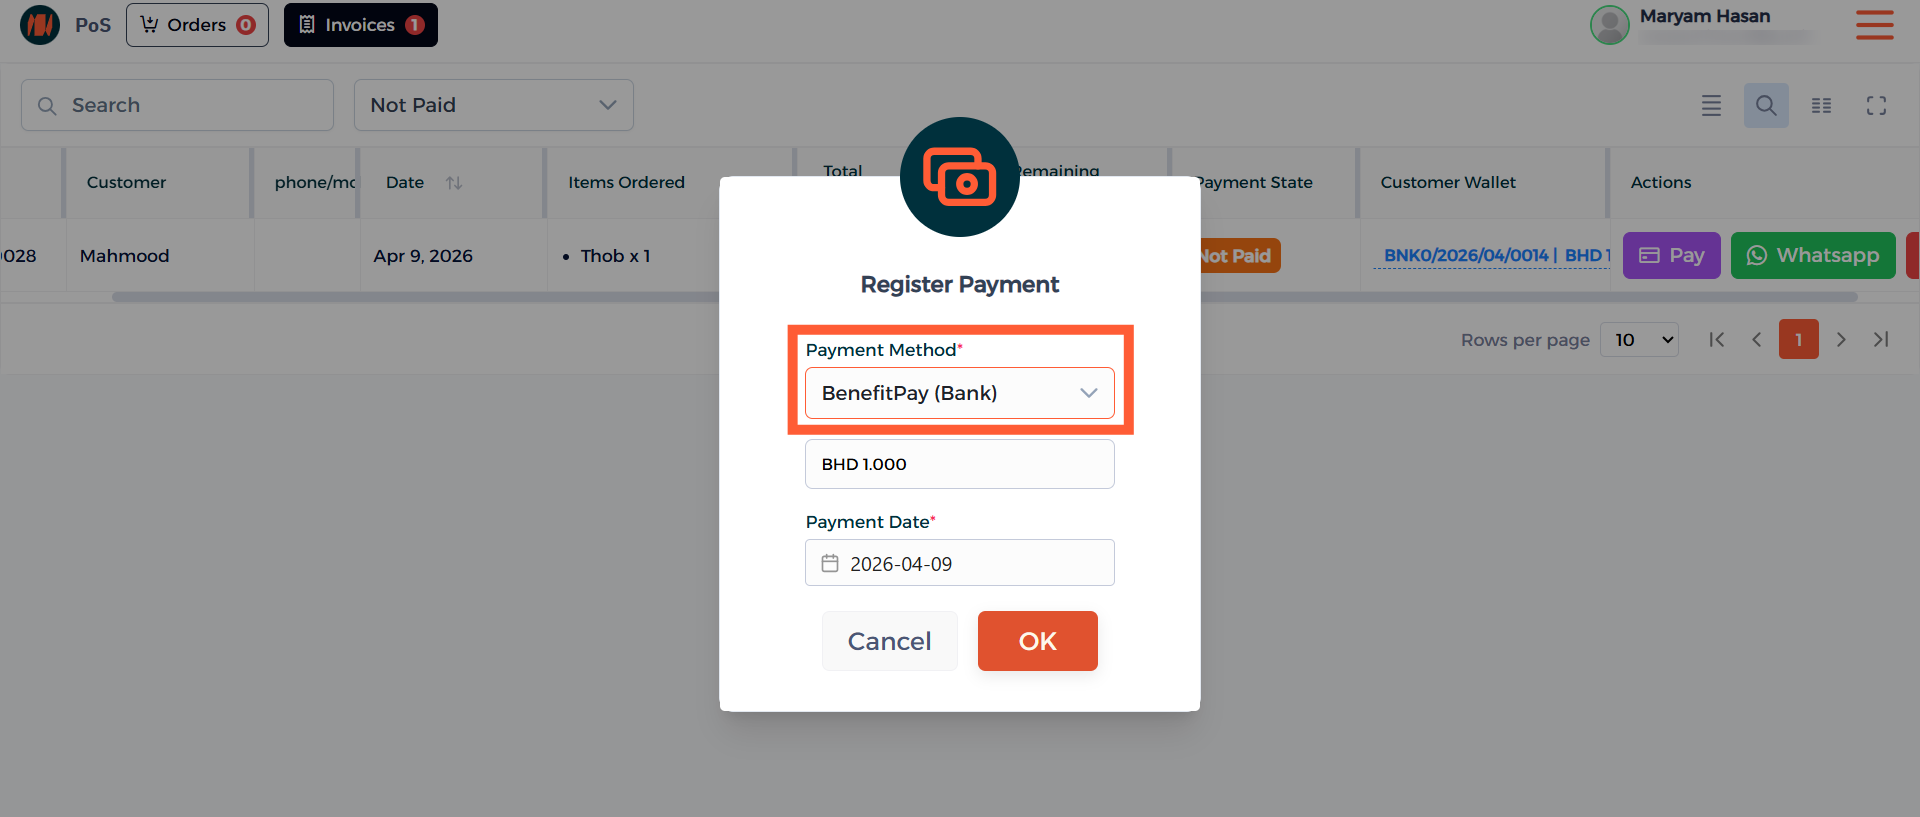
Step 10: Choose Payment Method
Select the preferred payment method of the customer and then confirm it.
Step 11: Payment From Customer Wallet (Optional)
Also, another payment method can be used. For Instance, you can allocate the payment from the customer wallet.
Notes & Tips
- An important tip is to ensure the customer information is accurate before proceeding with using the Pay Later Feature. Correct details help avoid issues with pending payments.
- Always select Pay Later at checkout, this keeps the transactions smooth and ensures your workflow run efficiently.
Frequently Asked Questions
Q: When do we use the Pay Later Feature?
A: Use the Pay Later Feature when a customer prefers to pay after receiving the product or service.
Q: Can I only use this in Point-of-Sale (POS)?
A: Yes, this is only available in Point-of-Sale (POS).
Q: Can I do partial payments for Pay Later?
A: Yes customers can make partial payments, just choose a payment method, enter the amount, and confirm it.